
While working on my latest piece, I thought I would make a tutorial for how to color eyes. To color, I use a drawing tablet with stylus and the PaintSai Program. I find using PaintSai is very forgiving as it is easier to use and allows the user to undo several steps rather than one. It should also be noted that a drawing tablet and stylus are not necessary to color on a computer. The same results can be achieved using a mouse, but it may take a bit more time. I find that using a Tablet and Stylus not only makes coloring easier, but fun as well.

First step is to create and divide the layers we want to use. I prefer to keep the base sketch the on the bottom layer and place the layers used for the eyes in a folder titled “eyes”. It helps with organizing the several layers required to fully color the picture. Its important to also set the folder and the layers within it for the eyes to “Multiply” so that the colors don’t completely block the layers below. After all that is done, the only thing necessary here is to color the base color for the eyes. I chose the color red as it is important for the character and her development in the story.

The next step is to add in a bit of shading on the top part of the eyes as well as the edges too. Before shading, make sure that you select the “Clipping Group” option for all the layers on top of the Base Color Layer. This ensures that any shading done will not leave the Base Color Area. This allows for more control when shading the eyes. Make sure that this is done in a layer on top of the Base Color Layer.
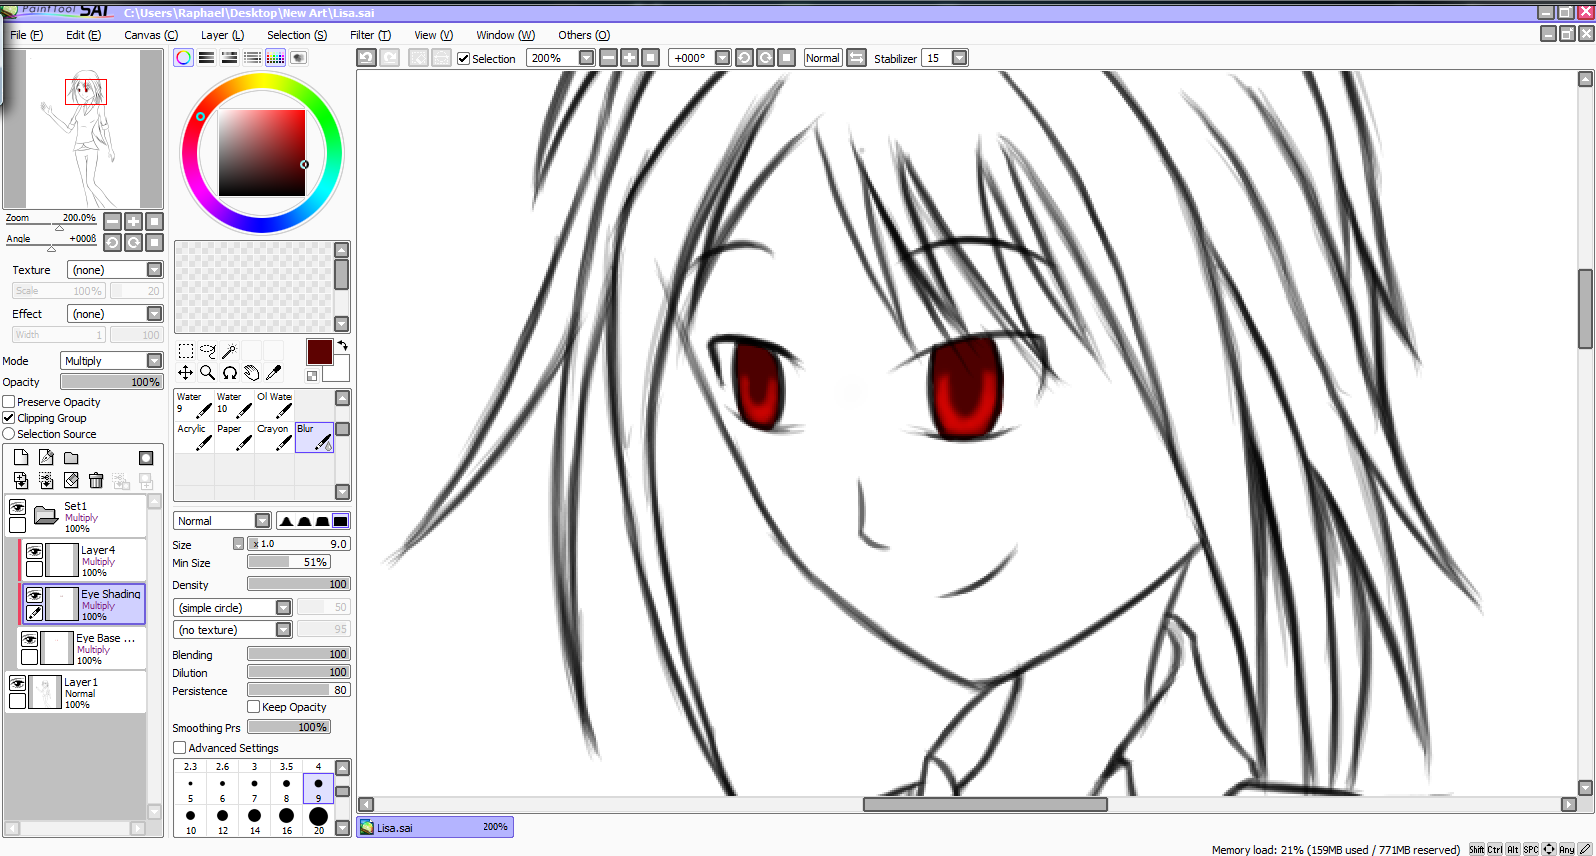
Now the next step is to start blurring the the edges of the shaded area to blend with the Base Color. The amount of blurring required depends on the artist’s intuition to create a natural blend between the two colors.

Too add a bit more depth to the eyes, it helps to add a bit of darker red to the shaded area and to also use the blur tool to blend that with the already shaded area. This adds an additional layer to the depth of the eyes. It also helps to do this on another layer, that way any mistakes can be easily fixed.

Now enough shading, time to add some highlights! On another layer (also having Clipping Group Selected) add a line of a very light shade of the eye color chosen. This lighter color adds a bit more character to the iris color and makes it stand out more. On a higher resolution picture its possible to add additional details to the iris. However for this picture, since its a full body image the resolution isn’t high enough to add any extra meaningful detail unfortunately.

The final step is to add in some glare on the eyes for a nice anime effect. Simply done on a layer above all the other Eye Layers added with a blur effect. For this layer, I would suggest setting it to “Normal” rather than “Multiply” so that the glare stands out more.
This tutorial is for a quick and easy guide to coloring, shading, and highlighting eyes. However it should also be noted that, for a larger resolution image, more detail can be done. I would also like to suggest that a certain degree of experimentation and practice be done in order to modify this and create your own style that feels more natural.
I hope this tutorial helps!
– Raphael
