
Continuing the work on my latest piece, here is a tutorial for how to color, shade, and highlight hair. One important consideration to make is that the quality of the shading and highlighting you can achieve will be based on the amount of detail you put into the hair. For this picture, I realized during this tutorial that I had not put enough detail into her hair. But that doesn’t mean it still can’t look good!
For materials, we still use the same tools and programs from the previous tutorial. A stylus, a drawing tablet and the program PaintSai.

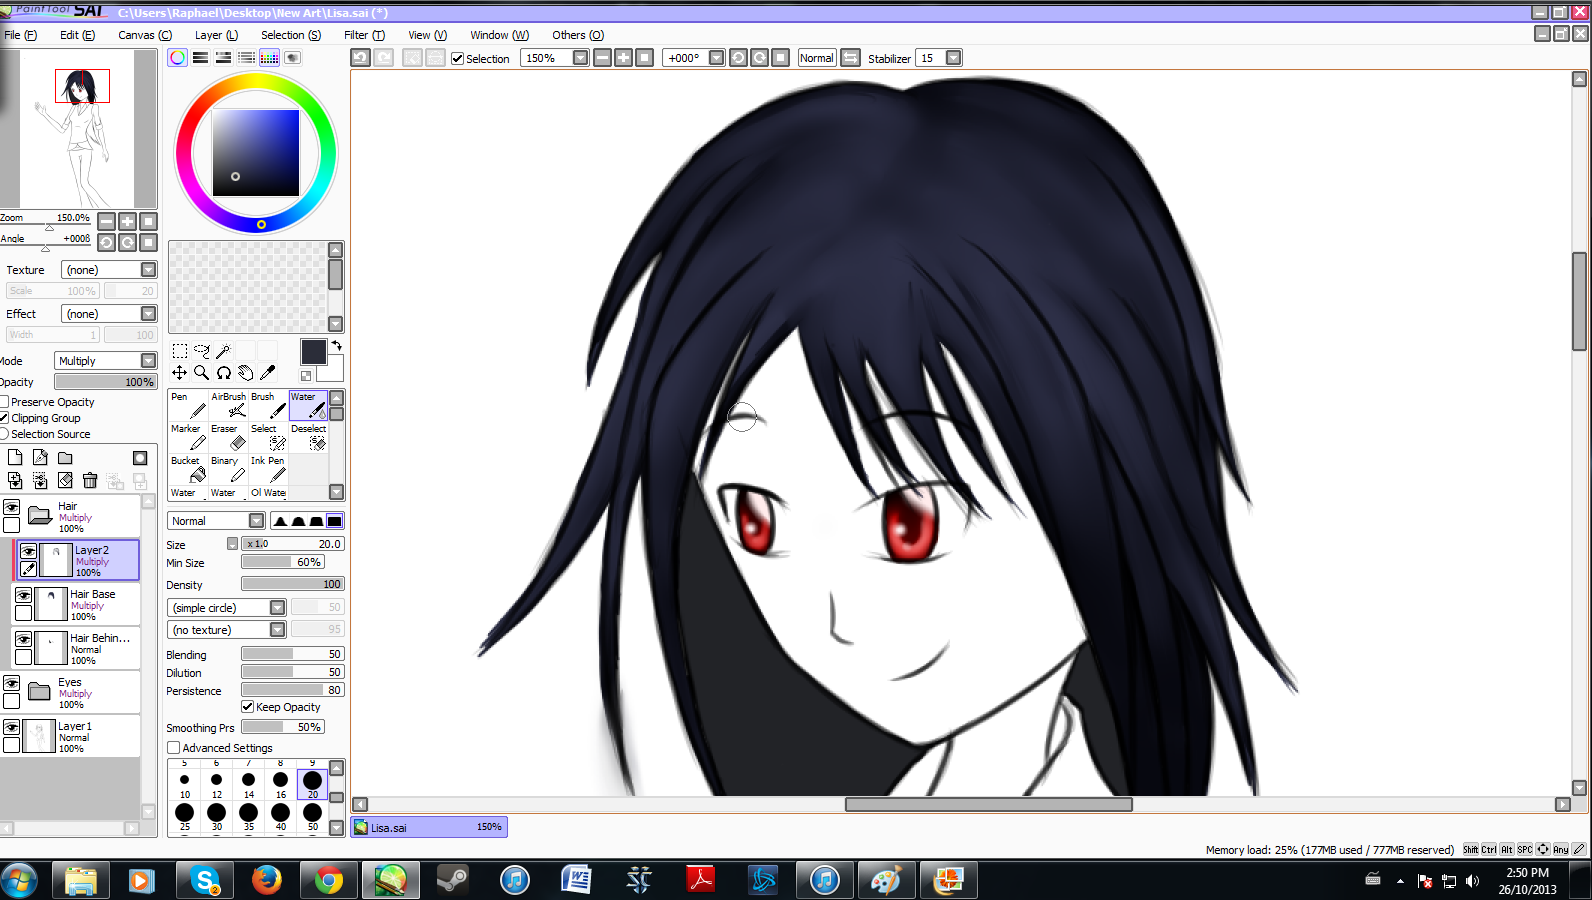
Step 1: Base Color of the Hair
This step is fairly straight forward as it is coloring the base of the hair. Choose a color lighter than the color you want to end up with. This character’s hair is black, but I prefer to add in a shade of blue for hair. The layer for this is set to Normal and put in a folder titled Hair to organize everything.

Step 2: Shading the Hair
Add in Shading using a Darker Shade of the Color you’ve chosen. Do not worry about being Neat and Tidy, just Shade in the areas that you feel need Depth. This Layer should be Above the Hair Base Layer and set to Multiply and the box that says “Clipping Group” above the Layers Column should be Checked. This allows for any work done to stay within the bounds of the hair base layer.
Step 3: Water Blending
In the Same Layer, select the water Blending Tool and use it to create Strokes using the Shading down in the previous step. Remember not to move back and forth with the Blending but rather Blend in Strokes in One Direction. This allows for some Added Depth and makes the Hair look more like Hair.
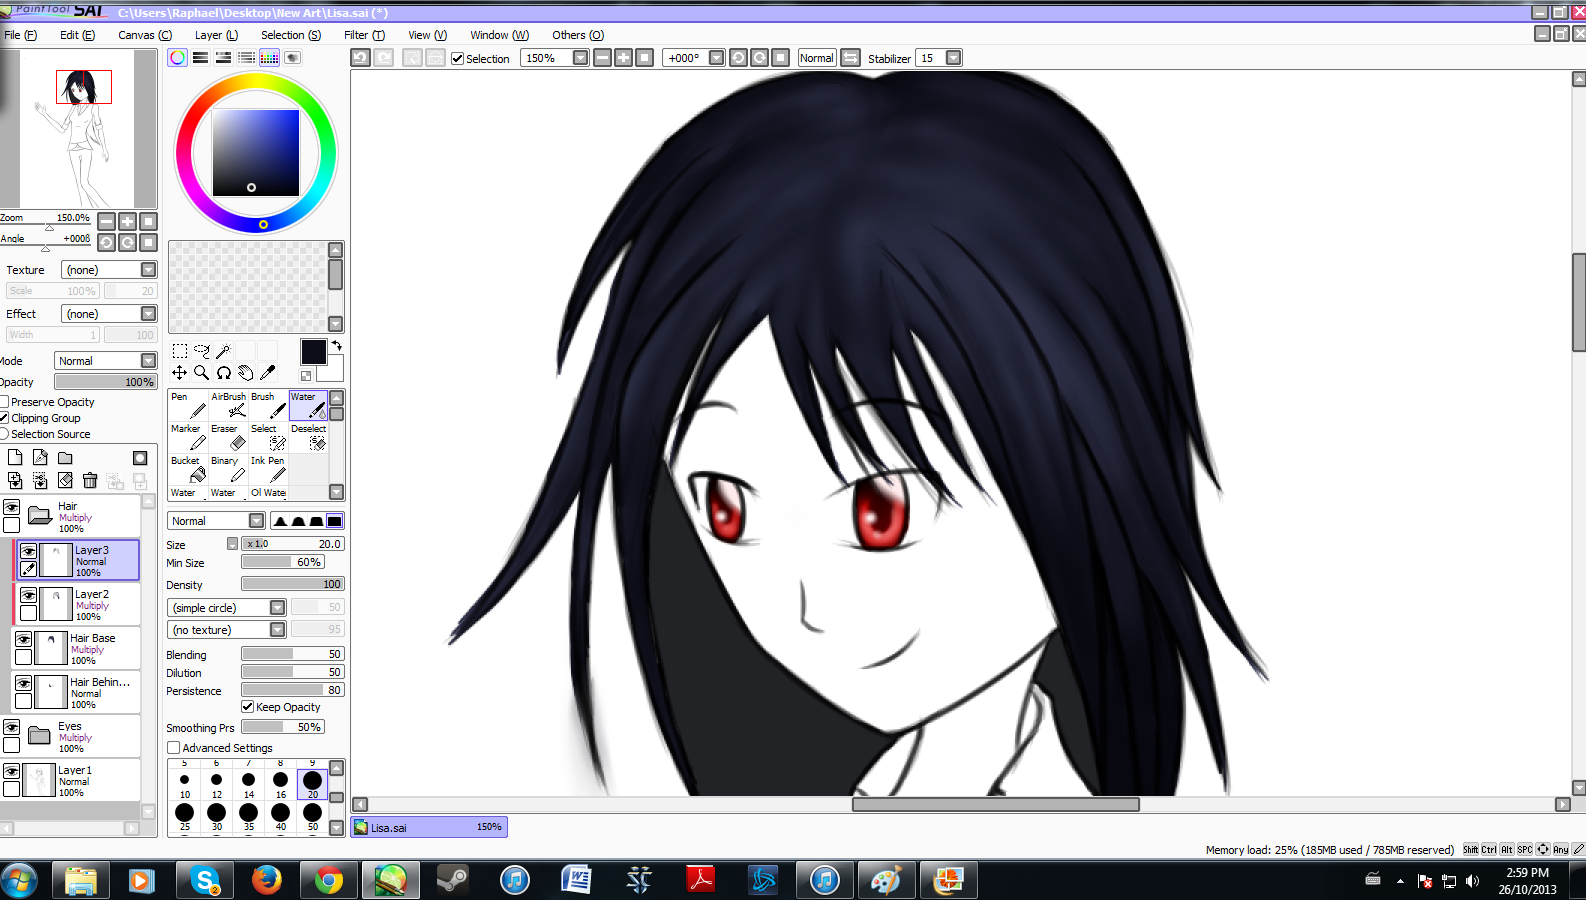
Step 4: Further Shading and Water Blending.
Like the Previous Step, in a New Layer above the Water Blending Shading Layer still in the Clipping Group, add in a few Dark Strokes here and there to Correct any parts that look Strange or require a Touch Up.

Step 5: Bright Stripes for Highlighting
This allows us to Control where we want to Lighten the Hair to add more Depth. In a New Layer above the Previous One, set this one to Clipping Group but rather than selecting Multiply, set the Layer to Luminosity to Brighten up the Highlights being added.

Step 6: Water Blending the Highlights
In the Same Layer, using the same method we used to Water Blend the Shading, use the Water Blend tool to blend the Highlights into the rest of the Hair. When doing these strokes, remember not to press too hard on the Drawing Tablet as it will cause the Strokes to go too far and Over Power the Shading done earlier.

Step 7: Hair Glare
Almost done! Now we add that Classic Glare found in almost all types of Hair. In a New Layer, above the Previous Layer, in the Clipping Group and set to Luminosity, add a Quick Stripe across the Hair. Set this Color to a Lighter Color than the Base Color so that it will show up and appear more pronounced than the previous highlighting done.
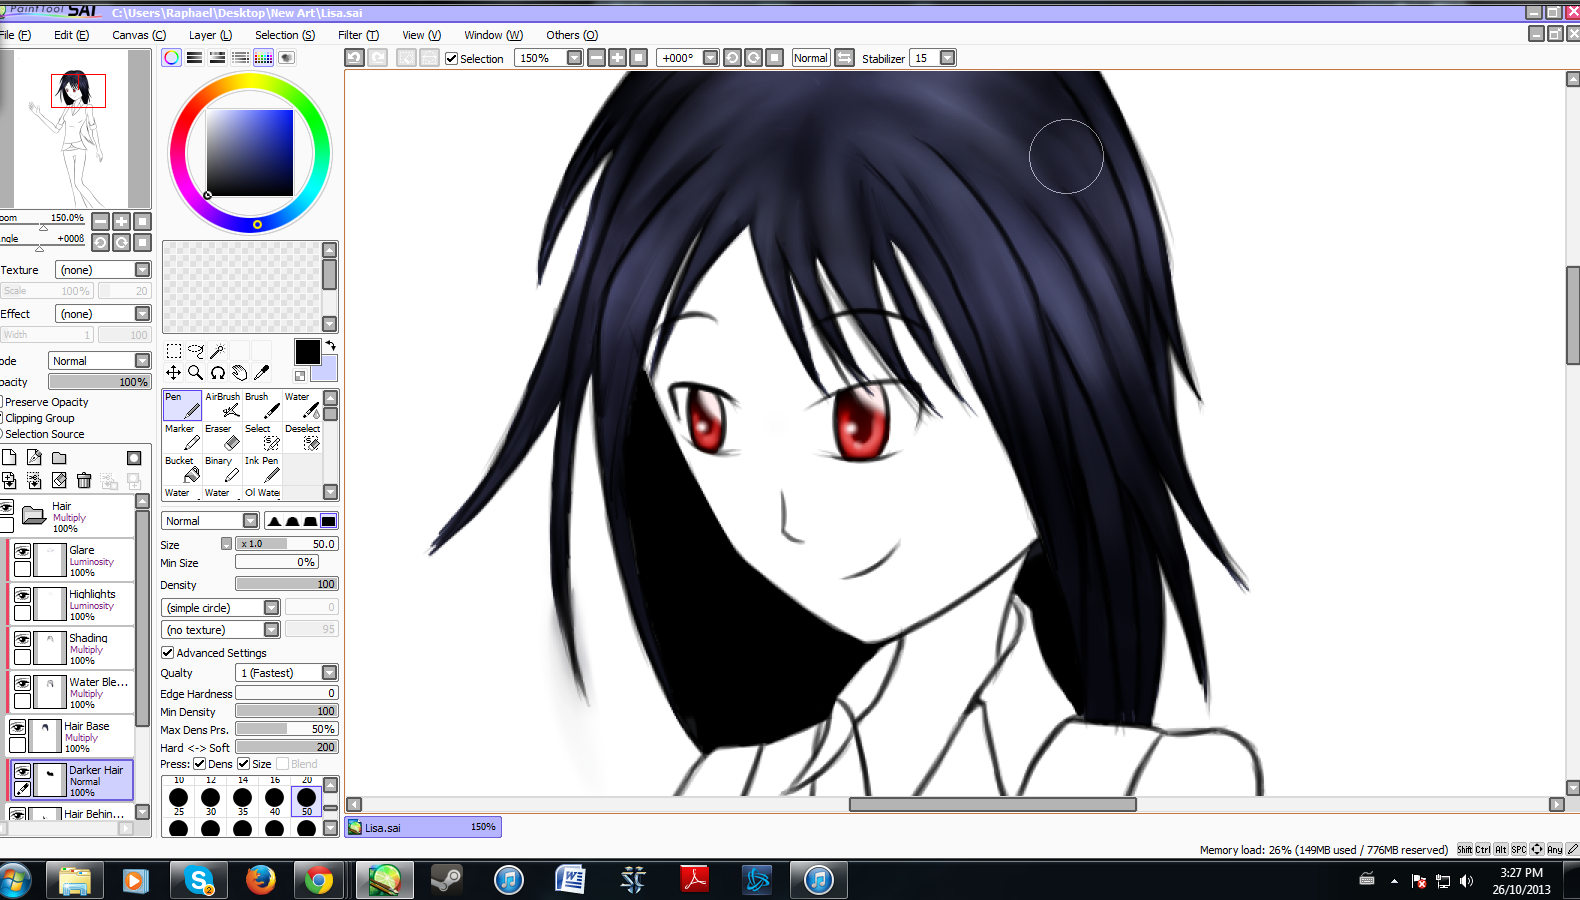
Step 7: Water Blending the Hair Glare
Our Final Step! Now, using the Water Blend Tool, Blend the Glare in Strokes going Up and Down to Blend with the Hair but still create a Line that goes through the Hair. In this final step, I also darkened the Behind her Head as the Final Rendition of the Hair is darker than the Hair behind her Head. For this final step, you can also choose to set the Highlighting Layer and the Hair Glare Layer to Multiply instead of Luminosity if you prefer the hair to be darker, but I prefer to set to Luminosity for the Bright effect it adds.
That is my quick tutorial on how to color anime/manga hair! I hope that you have found this useful in your own art projects and character designs. Next Week I will post a tutorial on how to color, shade and highlight skin.
Remember to always have fun doing art and feel free to experiment. The best results normally come from a bit of experimentation.
– Raphael

One thought on “Simple and Quick Digital Art Hair Tutorial”